Education Help with Education Outreach Animations & Videos Calendars Educational Giveaways UNAVCO Global Data Ruler PBO52 Playing Cards Velocity Map Posters UNAVCO Educator Packet Hands-on Demonstrations Infographics Interactive Data & Mapping Tools

Groundwater and Earthquake Faults Demonstration


  • About the demonstration

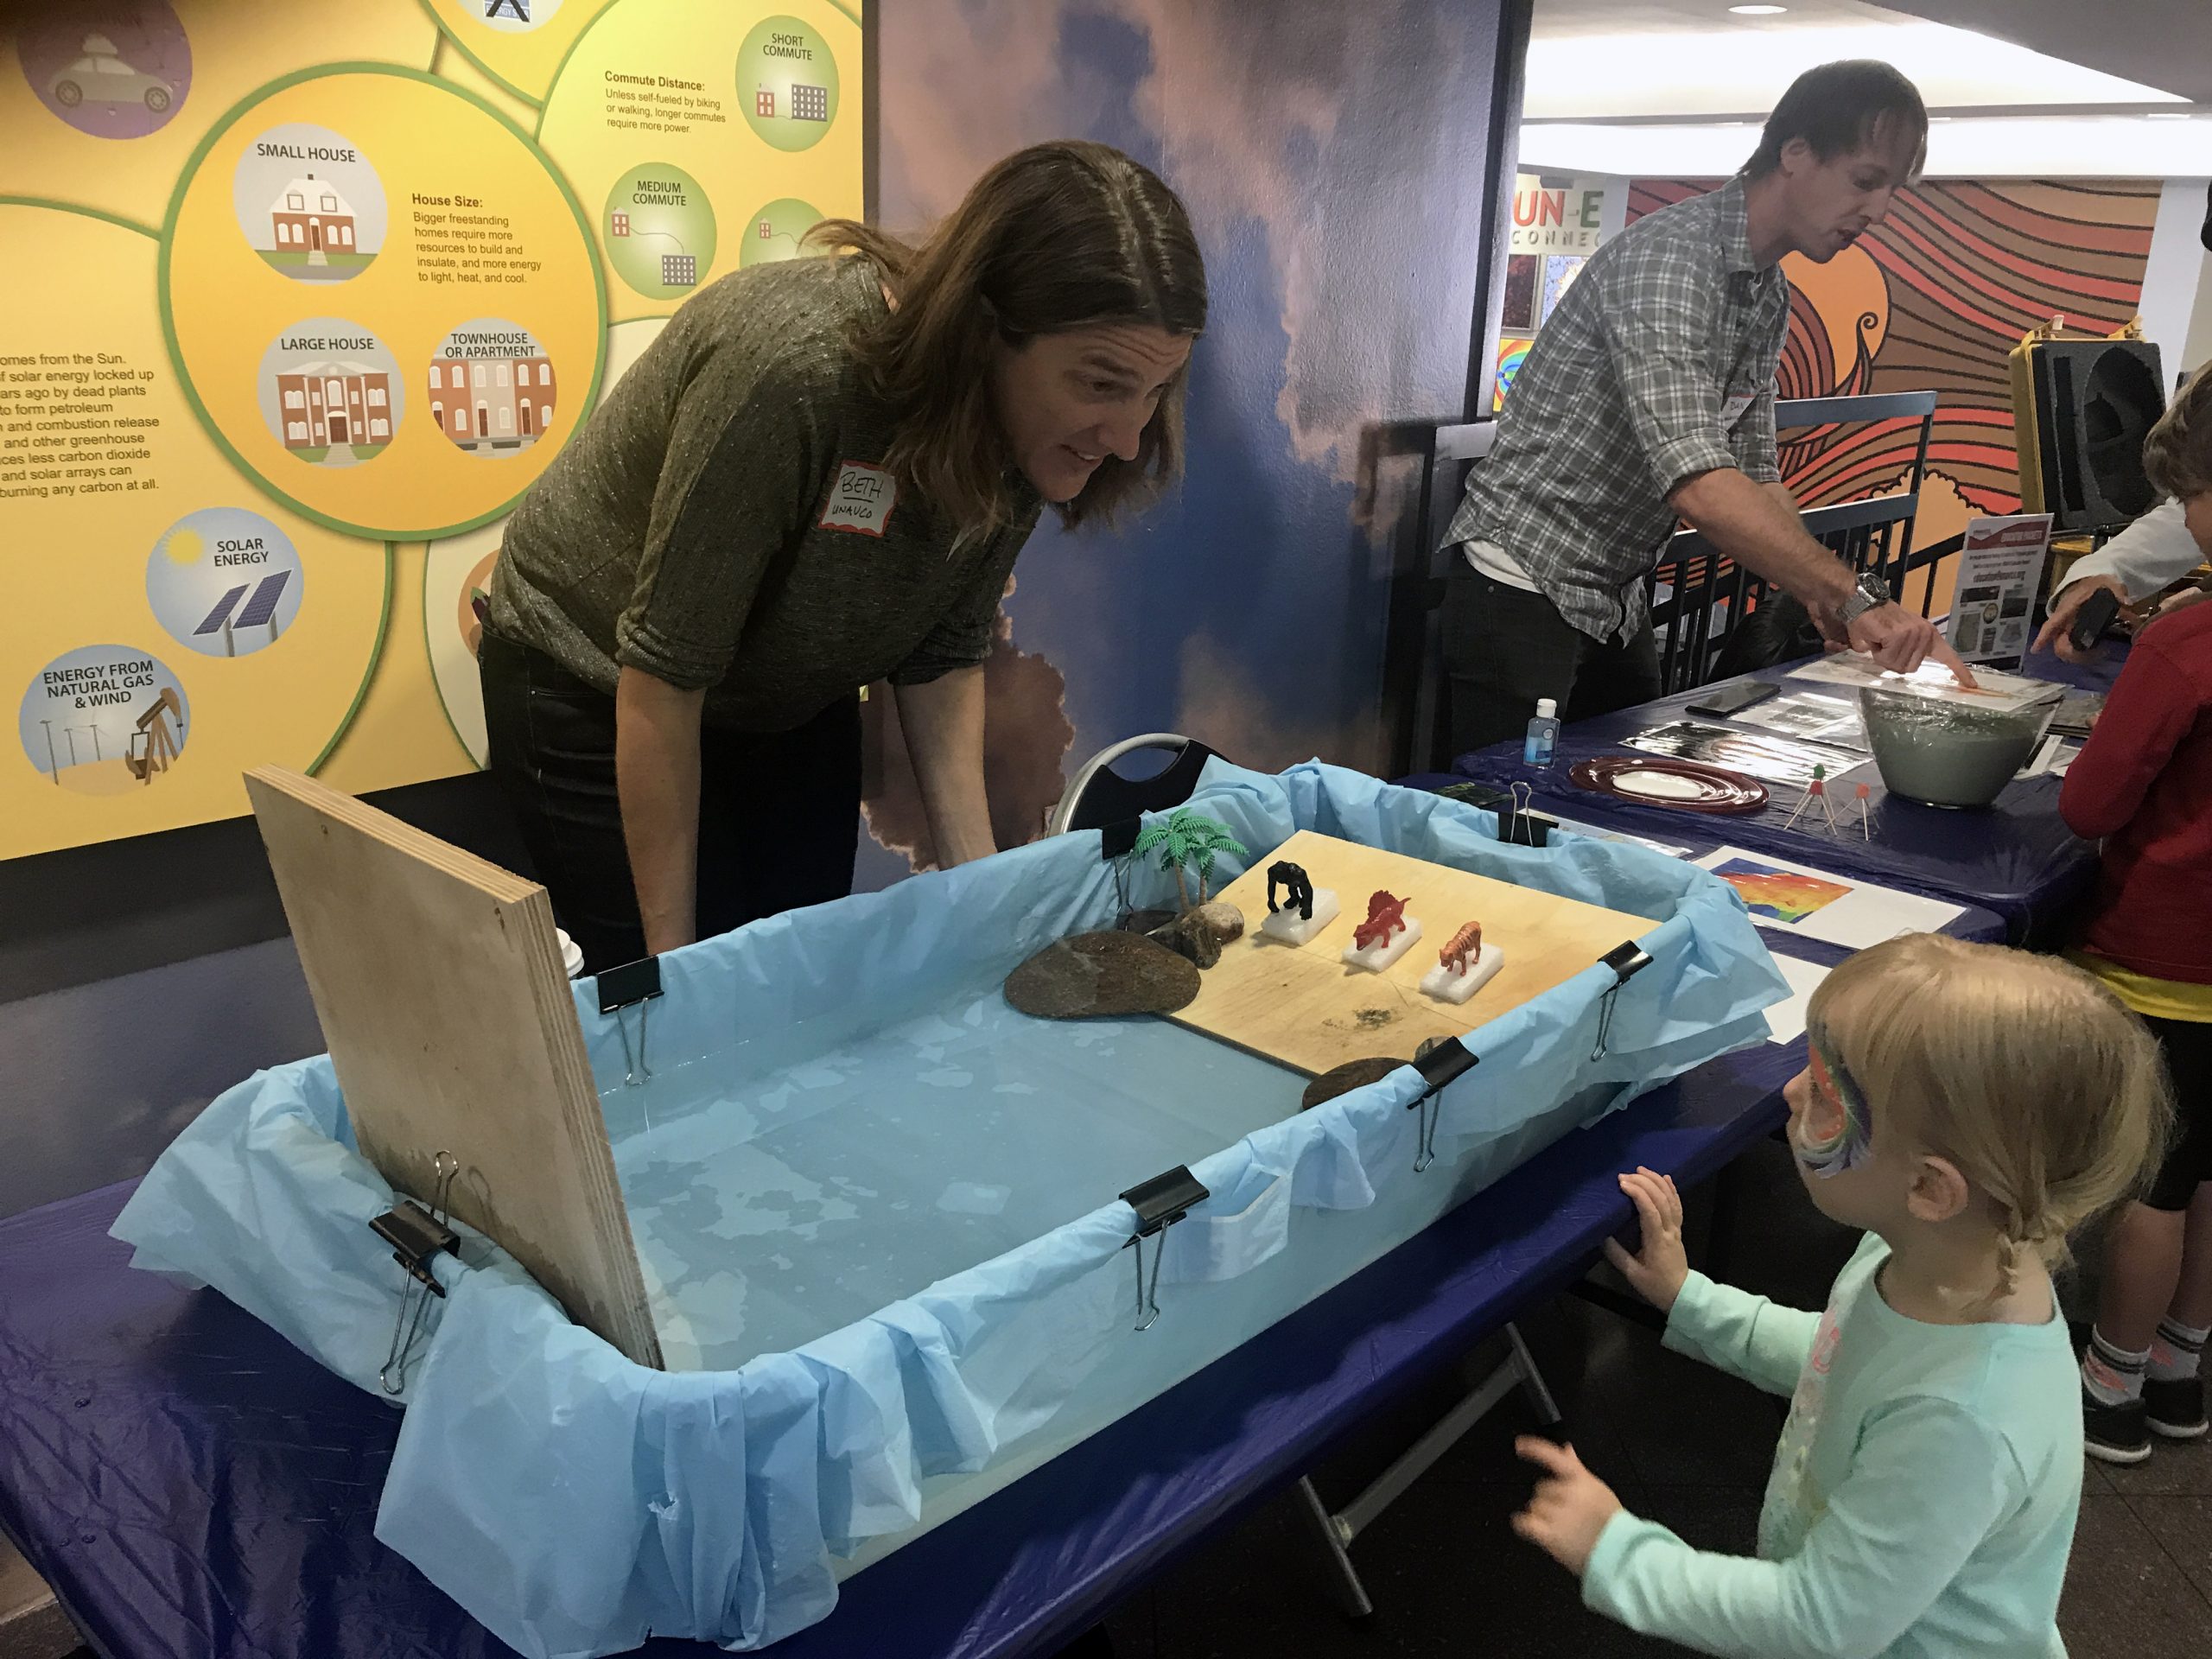
    This hands-on demonstration simulates how groundwater level (hydrologic) changes affect earthquake patterns on a fault. This demo was originally conceived to illustrate how groundwater conditions in the Central Valley of California can modulate (increase or decrease the number of) earthquakes occuring on the San Andreas fault. This demonstration, though, can be expanded to many examples of faults near valleys with changing groundwater conditions.

    A wood board sliding past another wood board simulates a "fault," which is a crack or fracture in the Earth's crust where there has been movement of rock. Such cracks can be small or quite large, such as those faults which form the boundaries between tectonic plates like the San Andreas fault. Faults are planar features, meaning that they are defined by a two-dimensional surface, but not all faults cut vertically into the Earth's crust nor are the contacts between faults flat and smooth.

    Demonstration Length

    2-3 hours to construct
    5-20 minutes to demonstrate

    Major concepts

    • Groundwater (hydrologic) conditions in California's Central Valley affect earthquake patterns on the San Andreas fault.
    • Human activity (e.g., pumping for agricultural purposes) can affect San Andreas fault earthquakes.
    • Seemingly disparate geologic systems (water and earthquakes) can be related.
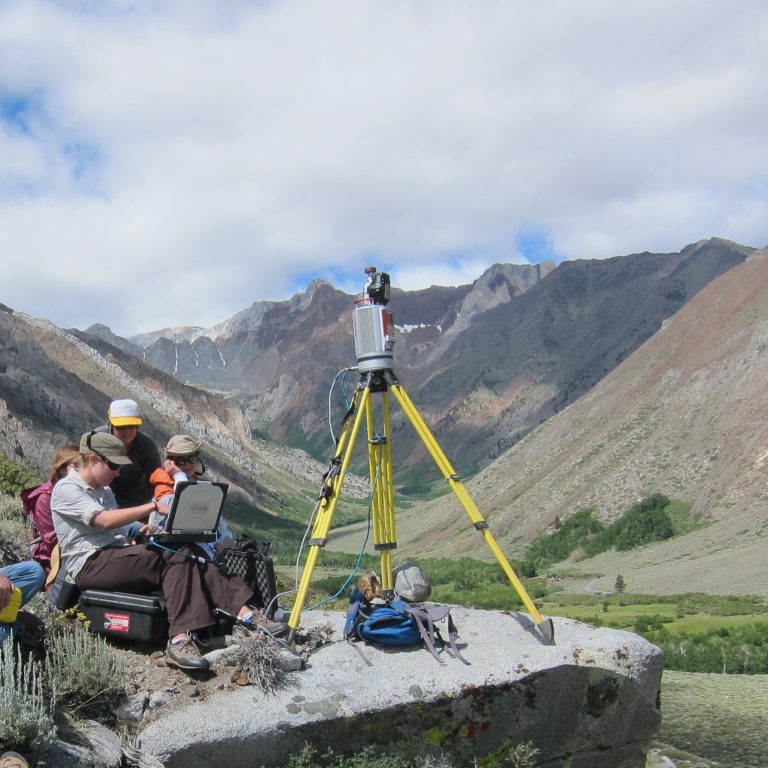
    • The ground moves up or down in response to hydrologic conditions and can be monitored with GPS instruments.
    • Supplies

      1. For the box and "fault":
        • A 1" x 4" x 8' wood board
        • A piece of wood at least 12" x 14" (particle board works, but something more water resistant is better)
        • A 1 foot long 1" x 1"
        • 8 1-1/2" wood screws
        • 8 1/2" wood screws
        • 6 small metal brackets
        • Plexiglass (at least 10" x 12")
      2. For inside the box and water:
        • Empty wine bag (4-5 liters)
        • 1" wide flexible tubing
        • Funnel
        • A gallon water jug
        • Plug to stop up tubing
        • Laminated color paper
      3. Other:
        • Gumdrops
        • Toothpicks

      Instructions for assembly

      1. Build the box:
        • With the 1x4, cut four 10" long pieces. Save the leftover for later.
        • In one of the 10" long segments, drill a hole wide enough to fit the plastic tubing through. The hole should be towards one side of the board. Sand if needed.
        • Screw three of the four 10" long segments, including the one with the hole, together with the 1-1/2" screws to form 3/4 of a box. The board with the hole in it should be the long side of the box. NOTE: Do NOT screw the last 10" segment to this box. This segments needs to be free-moving.
        • With the 1-1/2" screws, mount your 3/4 box to the particle board such that there is at least 3" of particle board outboard of the open end of the box.
      2. Build the "fault":
        • With the leftover 1x4, cut one 20" long piece.
        • In the 20" long piece, drill two holes, one on either end of the board. Sand if needed.
        • Mount the 1x1 to the particle board such that the 20" long wood segment can slide freely, but securely, between the 1x1 and the open end of the box.
        • Place the 20" long wood piece and the free 10" long wood piece between the mounted 1x1 and the box.
        • Glue one color of laminated construction paper to the top edges of the box, and a different color to both the 20" long wood piece and the 1x1. This denotes the two sides of the fault.
      3. For inside the box:
        • Secure two brackets to each of the three secure sides of the box so that you can easily slide the plexiglass in over the top of the box.
        • Remove the spout from the wine bag and attach the plastic tubing to the bag. 1" tubing is roughly the same size as the spout, ensuring a good seal. If the tubing is lose, seal with tape. Stop the open end of the tube.
        • Place the bag inside the box and thread the tubing through the hole.
        • Secure the plexiglass to the top of the box.
      4. Other:
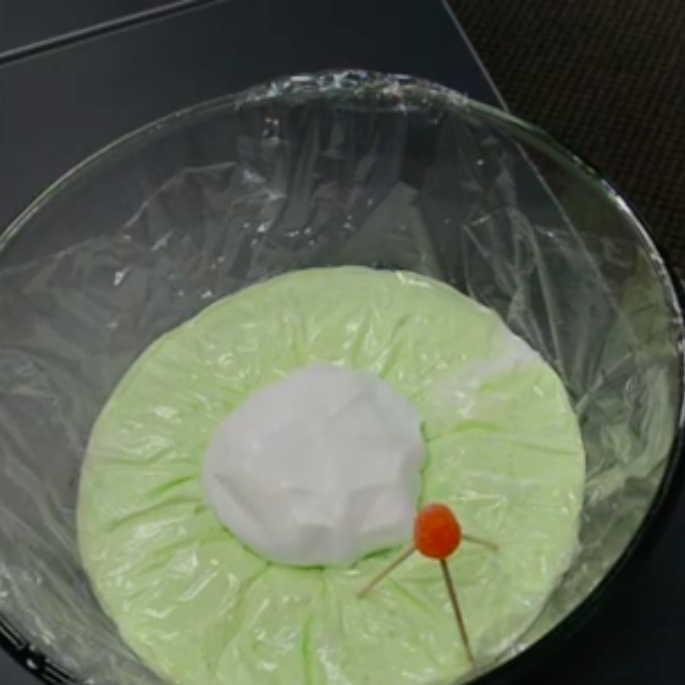
        • Create three GPS stations using the gumdrops and toothpicks.

      Leading the demonstration

      • Start with the wine bag empty.
      • Ask the participant to slide the "fault" back and forth, and observe how it moves (it should be easy to slide).
      • Fill the bag with water.
      • Ask the participant to hypothesize how they think the "fault" will now move (easily or more difficultly).
      • Once the particpant has hypothesized an answer, have them test it out by moving the "fault" back and forth (it should be difficult).
      • Ask why they think it is harder to move the "fault" (the "valley" is hydrated and therefore pushing on the "fault," making it harder to generate earthquakes).
      • Before draining the water out of the wine bag back into the gallon jug, point out that the ground actually responds to hydrologic conditions. Ask the participant to place a gumdrop GPS where they think they could monitor this ground motion.
      • Drain the water out of the bag and have the participant observe what happens to the GPS instrument (it should move down). Have the participant try moving the "fault" again (it should be easy).
      • Ask the participant if they can think of a man-made situation that results in less water in the ground (pumping out water for agricultural purposes, putting less stress on the fault, making it easier for earthquakes to happen).

      Sample questions to consider

      • How could groundwater affect earthquakes along a fault?
      • Does the "fault" move easily or difficultly? Does it ever feel stuck before it suddenly slips?
      • Where would you place a GPS station to monitor this?
      • When the "valley" is full of water, do you think it will be easier or more difficult for the "fault" to move?
  • Helpful supplemental materials include:

    ---

    A water load on Earth's surface pushes the ground down. Once the water is in the ground, it pushes outwards and effectively pushes on a fault, making it harder for that fault to move.

    ---

    CREDITS
    Demonstration created by 2016 USIP interns Meredith Kraner and Daniel Zietlow.

    Video produced by Meredith Kraner.


Last modified: 2019-12-24  01:26:01  America/Denver