
Science with Flubber: Glacial Isostasy
-
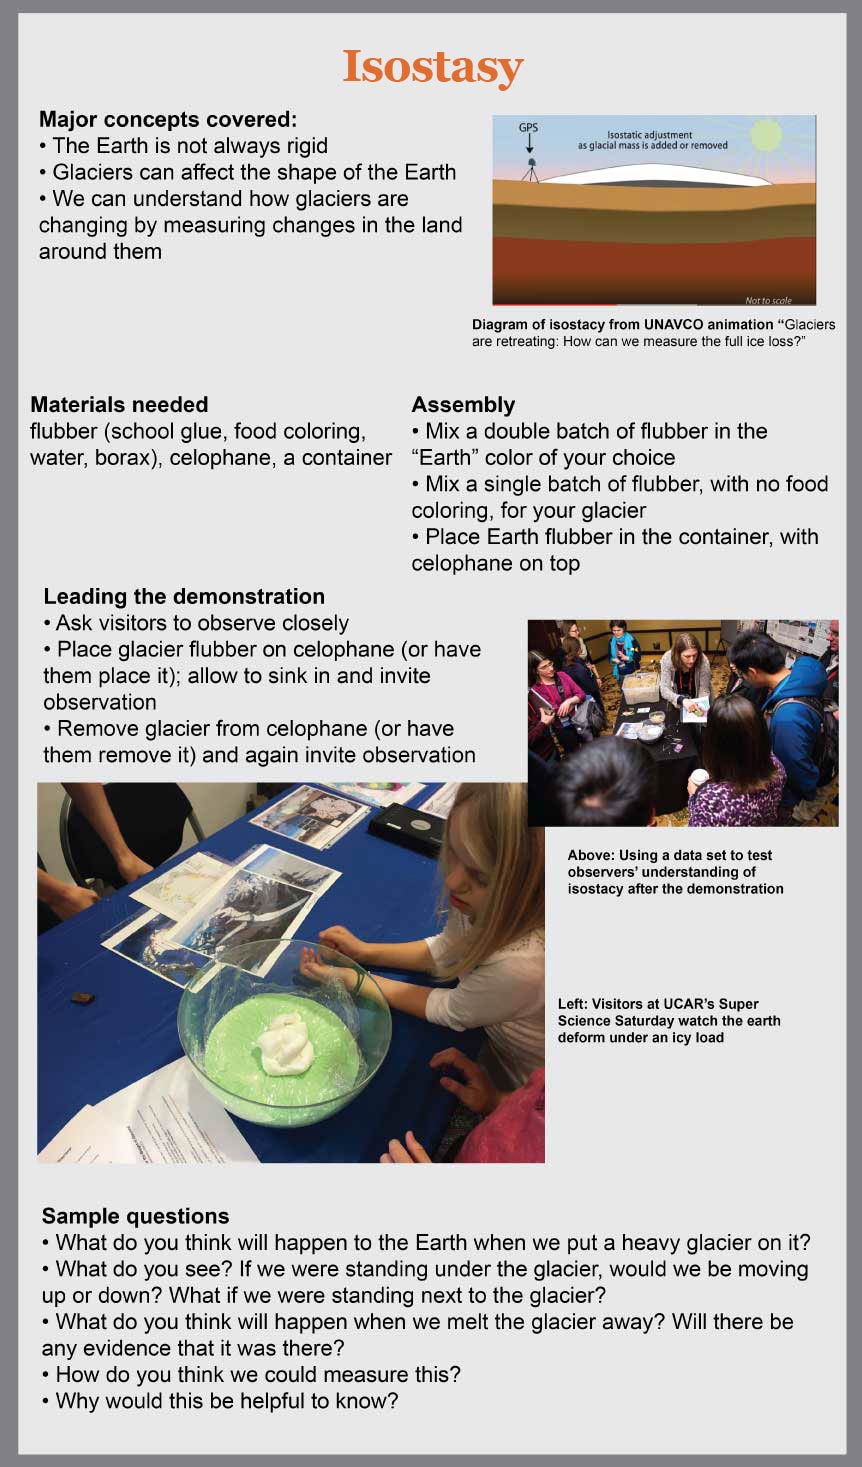
About the demonstration
Using two sets of flubber, one representing the Earth and one representing a glacier, demonstrate how the crust sinks and rebounds to the weight of a glacier, and how this motion can be measured using GPS.
Flubber is a rubbery elastic substance, a non-Newtonian elasco-plastic fluid, that flows under gravity, but breaks when under high stress. Flubber is useful for demonstrating a wide range of Earth and glacier processes.
Points to remember
- Flubber responds to slow changes of stress (such as adding or removing weight) in an elastic manner similar to the crust and mantle.
- Flubber is neither a glacier or rock.
- Rock rebounds less quickly than flubber.
Demonstration Length
30 minutes to make the flubber
5 – 20 minutes to demonstrateMajor concepts
- The crust is not always rigid.
- Glaciers can affect the shape of the Earth.
- As a glacier grows, the weight of the glacier depresses the crust downward. As a glacier shrinks, the crust rebounds upward in the area around the glacier.
- We can use GPS to measure how glaciers are changing by measuring elevation changes over time of the land around them.
Supplies
- Flubber (school glue, borax, food coloring and water, * see the Supplementary Materials tab for more details)
- Clear container (large bowl)
- Cellophane
- Air-tight storage bags (to hold extra flubber)
- Gumdrops and toothpicks (to make GPS models)
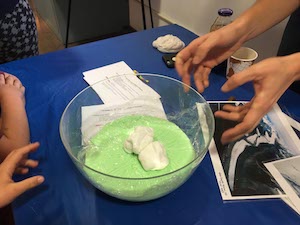
Instructions for assembly
- Mix a double batch of flubber in the “Earth” color of your choice.
- Mix a single batch of flubber, with no food coloring, for your glacier.
- Place Earth flubber in the container, with cellophane on top. Let it settle.
- Have the glacier flubber ready to place on the Earth.
Leading the demonstration
- Describe the parts of the model:
- The flubber in the bowl is the Earth’s asthenosphere (the lower mantle, more elastic)
- The cellophane is the lithosphere (crust + upper portion of the mantle)
- The white flubber is the glacier
- Ask visitors to observe the "land" flubber closely as you place the glacier flubber on cellophane (or have them place it); invite observations by the visitors while the glacier sinks in.
- Quickly remove glacier from cellophane (or have them remove it) and again invite observation as the lower Earth flubber moves.
- Repeat placing and removing the glacier multiple times while visitors view from the side and focus on different areas of the Earth flubber.
- Optional: Have visitors place GPS models on the flubber at various places and measure the deflection of the land near the glacier and at the edge of the bowl.
Sample questions to consider
- What do you think will happen to the Earth’s crust when we put a heavy glacier on it?
- What do you see? If we were standing under the glacier, would we be moving up or down? What if we were standing next to the glacier? ... farther away from the glacier? ... near the edge of the bowl?
- What do you think will happen when we melt the glacier away? Will there be any evidence that it was there?
- How do you think we could measure this?
- Why would this be helpful to know how much ice has melted?
-
Make the Flubber
Note that you'll need one batch for the glacier and a double batch for the Earth.
Ingredients for one batch:
- 2 mixing bowls
- Measuring cup and spoons
- 1 cup white glue
- 1 1/2 teaspoon borax
- Food coloring
- Warm water
Instructions for making flubber
- In the first mixing bowl, combine 3/4 cup warm water and 1 cup glue (and food coloring if needed). Stir until well mixed.
- In the second bowl, combine 2/3 cup warm water and 1 1/2 teaspoon borax.
- Combine the contents of the two mixing bowls (whip the materials together), and stir until a gooey blob forms. Flubber will be sticky for a moment or two. Let the excess liquid drip off.
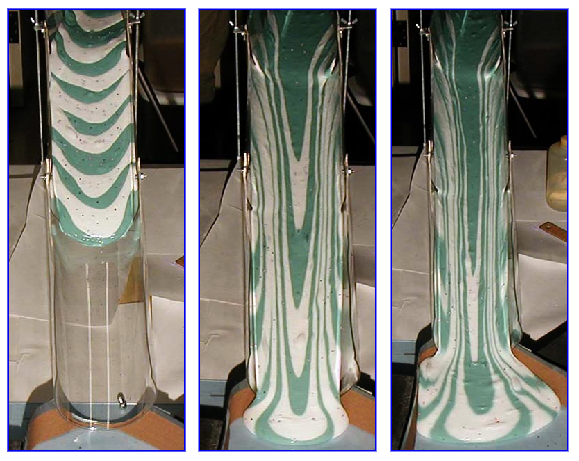
More ideas!
Use flubber to demonstrate how glaciers move and flow! Place flubber on a 3-D model of a mountain or create a U-shaped valley made from clear plexiglass or tubing. By using a clear plastic, you can see the top and bottom motions of the glacier.
- Show a map with data plotted to test observers’ understanding of isostasy after the demonstration.
Earth-focused modules for undergraduate classroom and field courses
Ice mass and sea level changes
Part of the GETSI collection.In this 2-3 week module, students interpret geodetic data from Greenland to assess spatial patterns and magnitudes of ice mass change and consider mechanisms and timescales for ice mass loss. They also investigate the relationship between ice mass change and global and regional sea level, with an emphasis on the ongoing and future implications of sea level change on civilization. Materials for student reading and preparation exercises, in-class discussions, lab exercises, small group activities, gallery walks, and wall walks are provided, as well as teaching tips and suggestions for modifications for a variety of class formats.
CREDITS
Demonstration based on an activity developed by POLENET - The Polar Earth Observing Network.UNAVCO materials developed by Shelley Olds and Beth Bartel.Video produced by Daniel Zietlow.
Last modified: 2019-12-24 01:26:00 America/Denver